This guide is intended for departments supported by HASC. For any other departments, please reach out to your local IT support group.
Open the “Get started with Acrobat Pro DC” email sent to your UCSB email address and click on “Get started” button. If you didn’t receive the email or can no longer find it, here is how to install Acrobat without the “Get started” email.

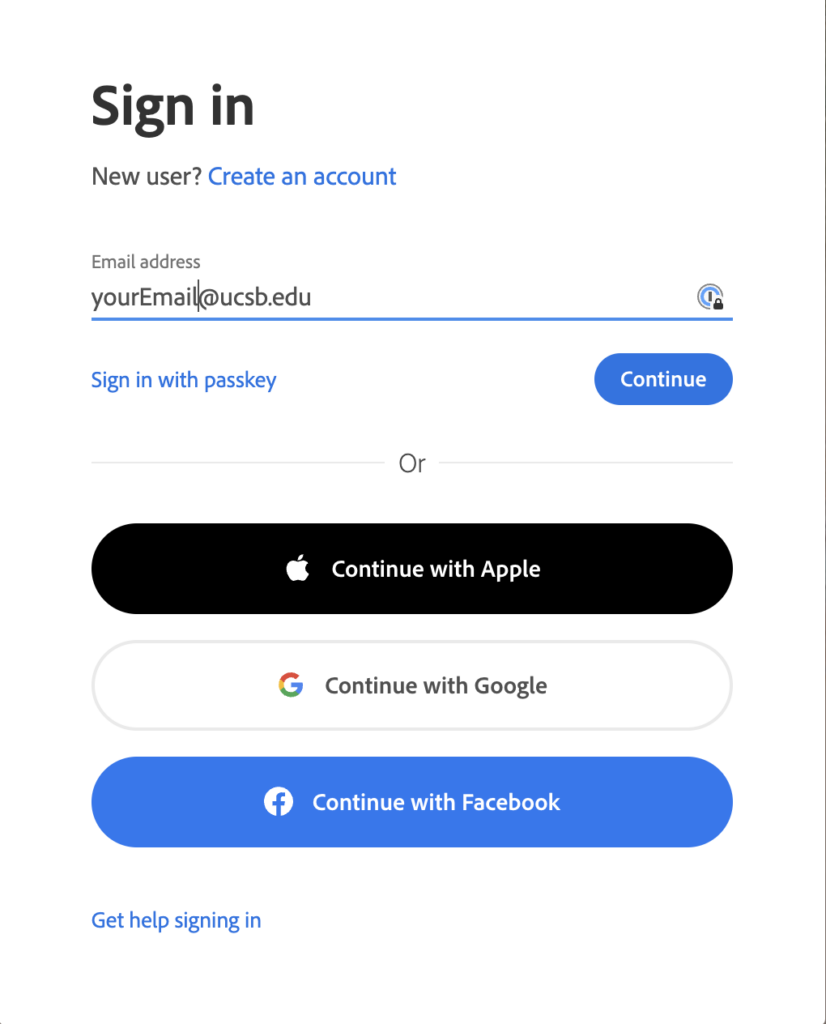
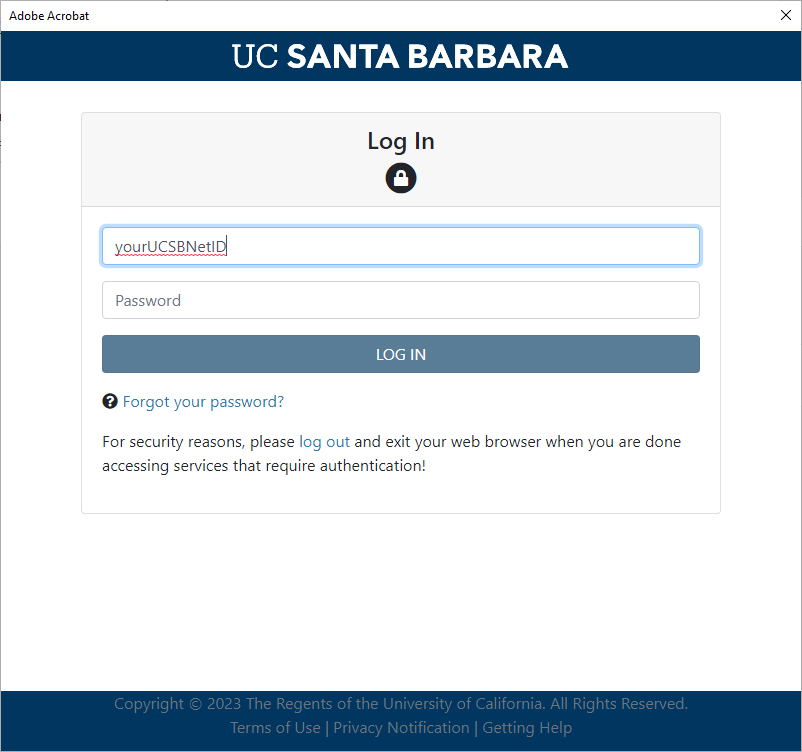
You can then sign with your @ucsb.edu email address which will redirect you to our single-sign on page (SSO) where you will enter your UCSBNetID credentials to log in.
After signing in, you’ll be presented with the option to download the Acrobat Pro installer for your system. If using MacOS, you can check your version by going to the Apple menu in the top menu bar > About this Mac.

MacOS
Skip to Windows install instructions.
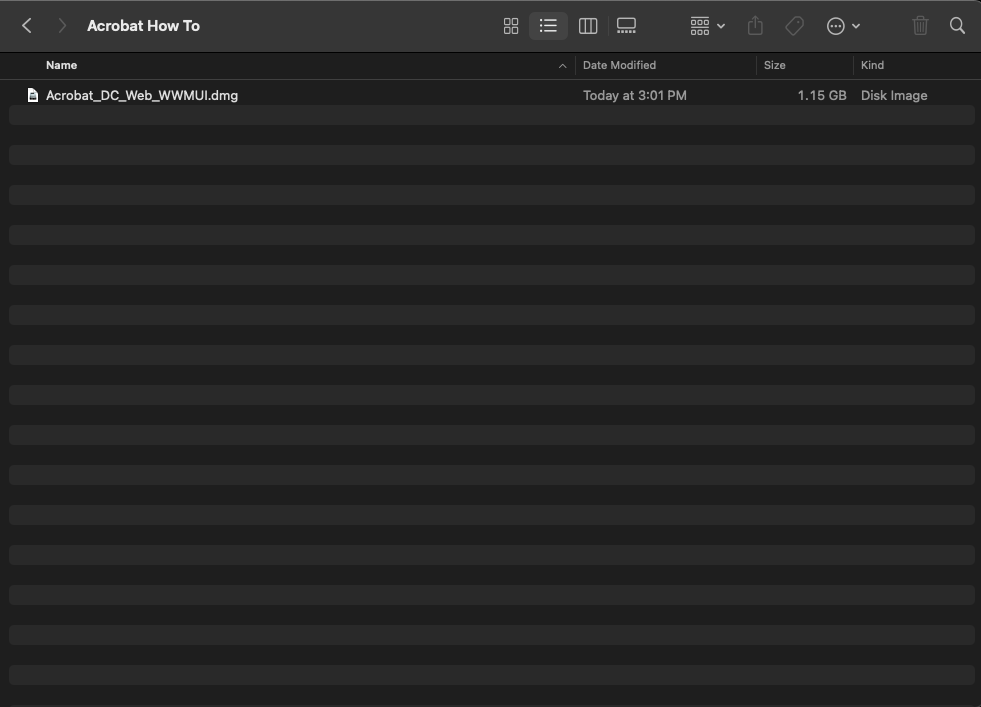
Once downloaded, open the Acrobat_DC_Web_WWMUI.dmg file.
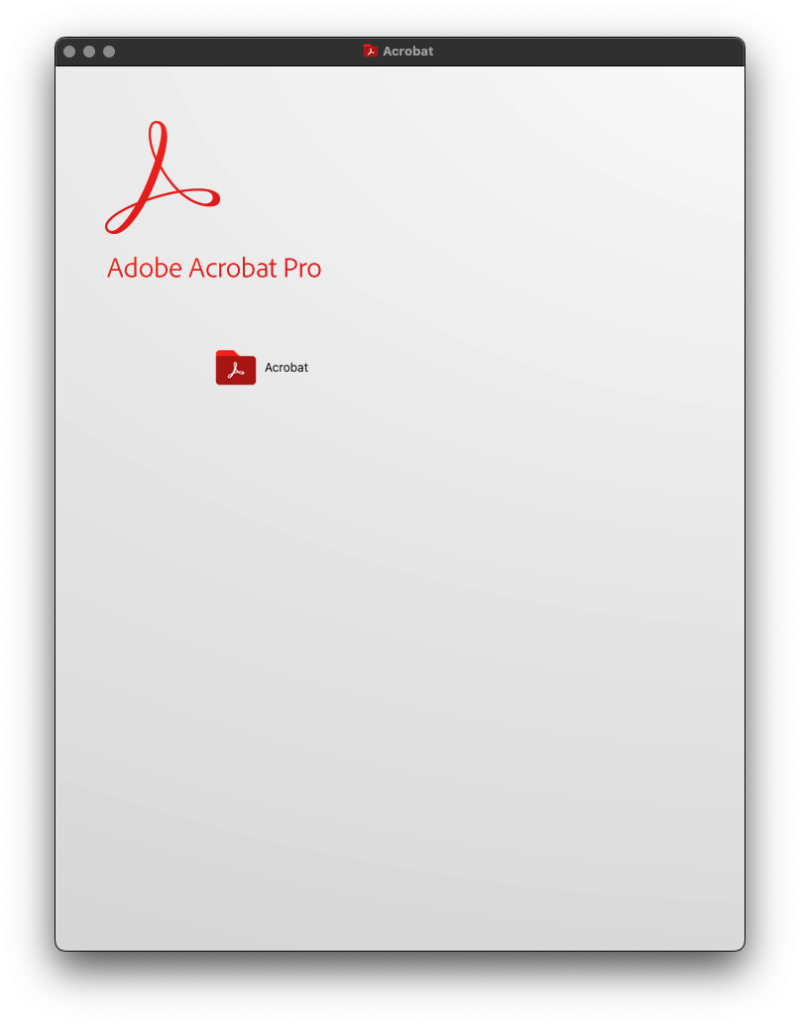
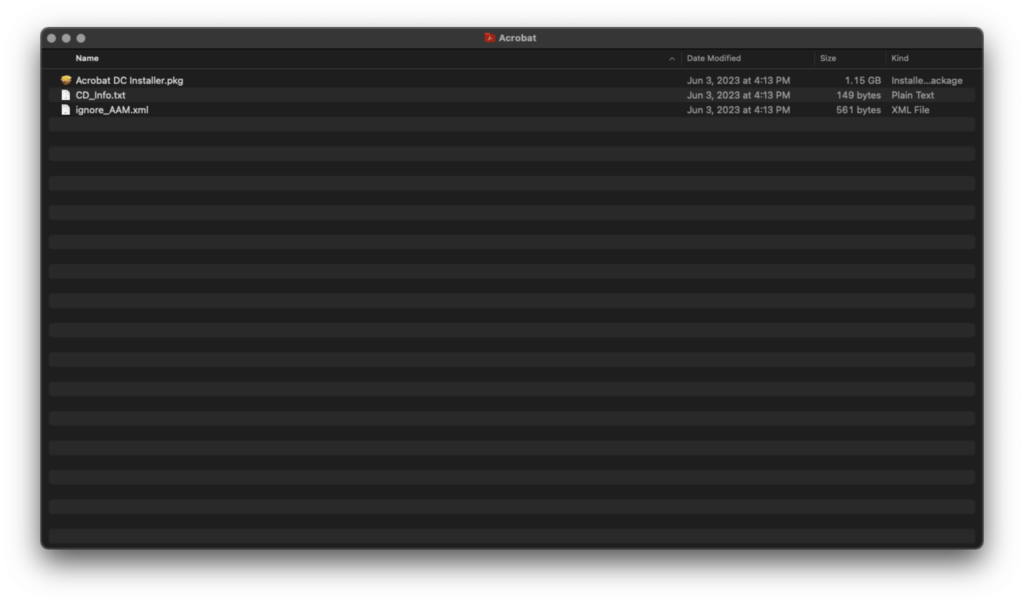
Once opened, you should see the Adobe Acrobat Pro installer folder. Double click the Acrobat folder to open.
A folder should open containing the Acrobat DC Installer.pkg file. Double click this file to start the install process.
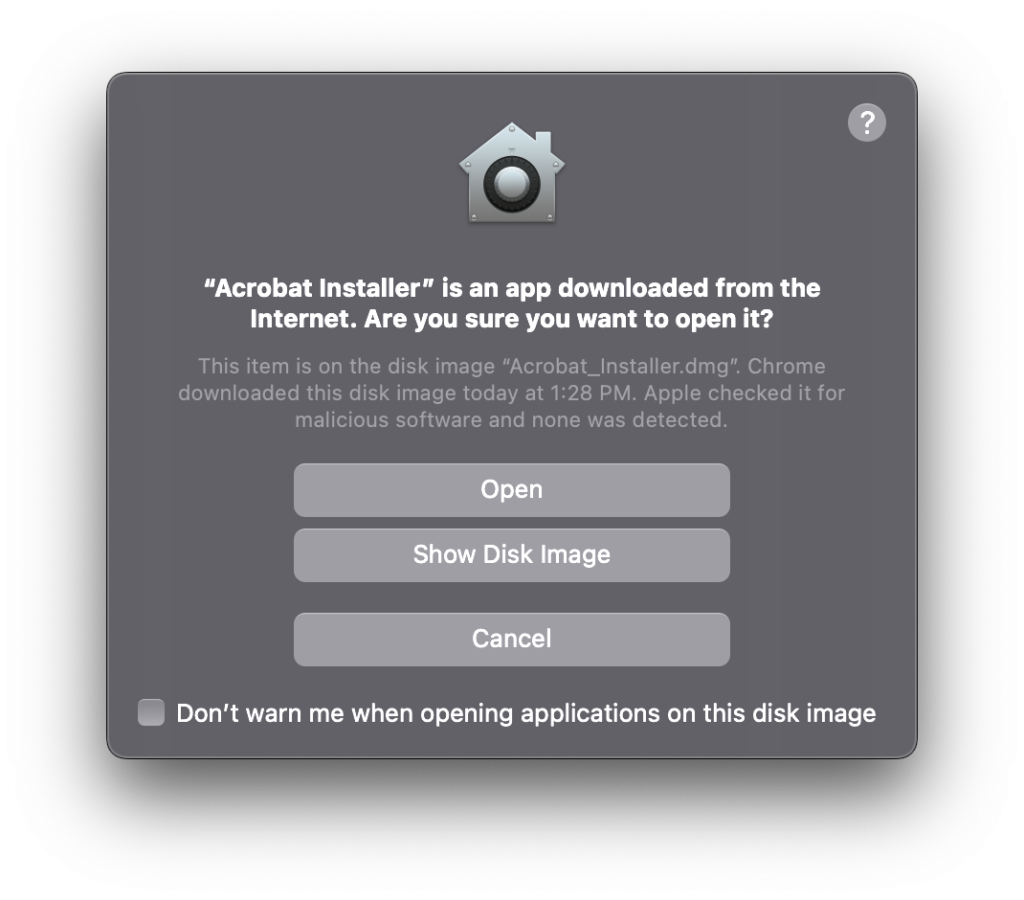
If prompted, with the “Are you sure you want to open it?” prompt, click Open.
When prompted, to authenticate, click Continue. You should already be authenticated, but if needed, sign in with yourUCSBNetID@ucsb.edu and you should be redirected to the UCSB SSO page again.

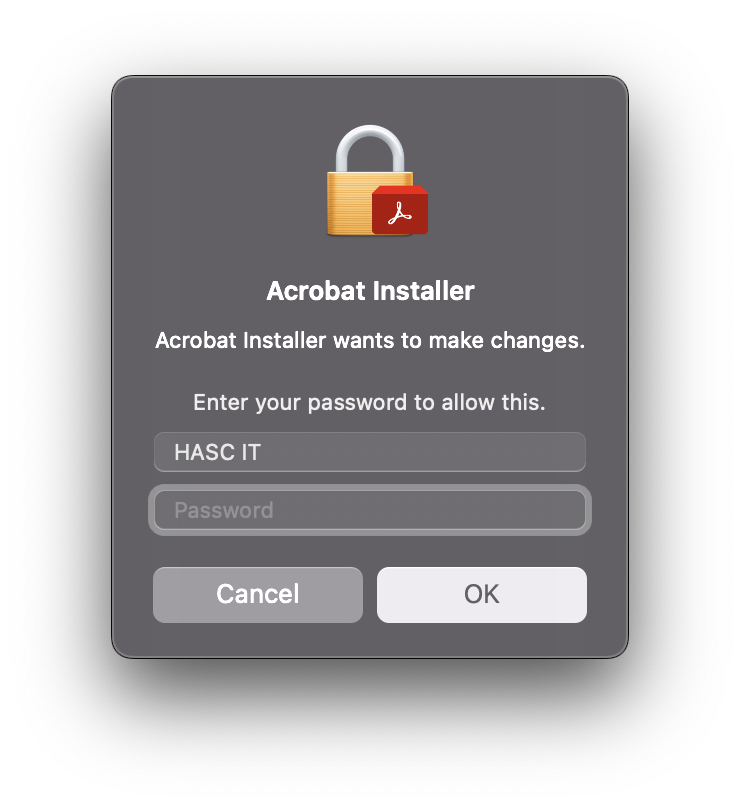
If prompted that the installer wants to make changes, enter your computer password. After authenticating the install should start.
Once the installer completes the installation, Acrobat Pro should open by itself and the installation is complete. If you encounter any issues with this process, don’t hesitate to contact HASC IT at hasc-it@hfa.ucsb.edu.
Windows
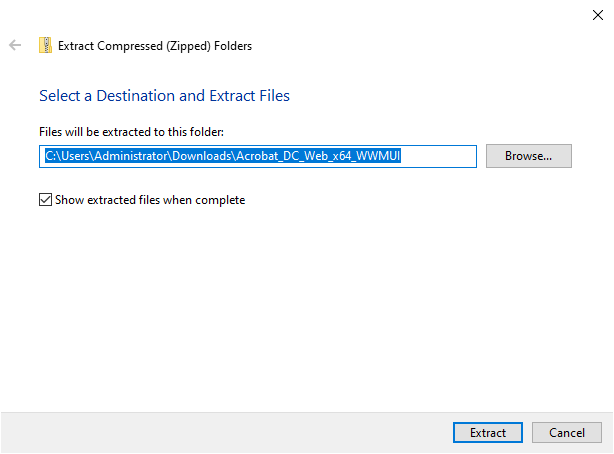
Go to your Downloads folder or wherever you placed the download and right click on the Acrobat_DC_Web_x64_WWMUI zipped folder and click “Extract All…”

Then “Extract” on the next screen and make sure the checkbox for “Show extracted files when complete” is checked.
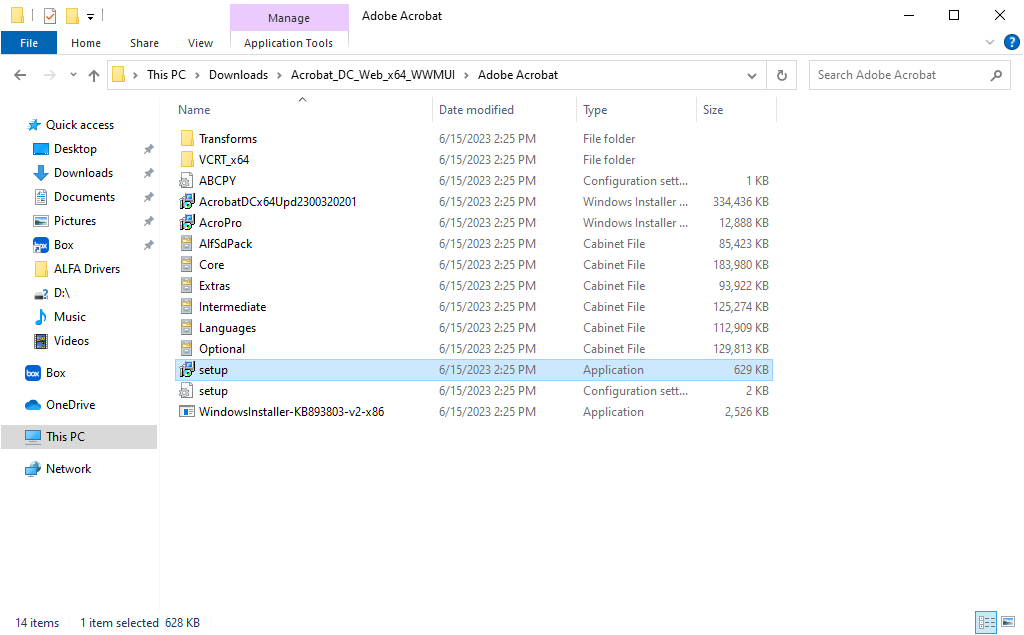
The extracted folder should appear. Open the Adobe Acrobat folder and then open the setup file to start the installation. It should have a computer icon next to the name. The correct file is highlighted in the image below.
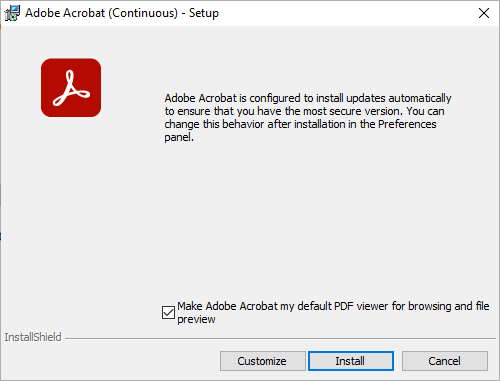
You should then be prompted to confirm the install. If you’d like Acrobat to be your default PDF viewer, make sure to check the box next to the option. Then click “Install”.
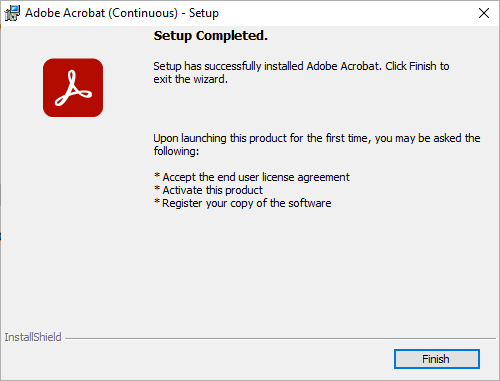
Once the installation completes, click “Finish”. You can skip the restart prompt, if needed.
Go to your Start menu and open Adobe Acrobat. When prompted, sign in using your UCSBNetID@ucsb.edu.
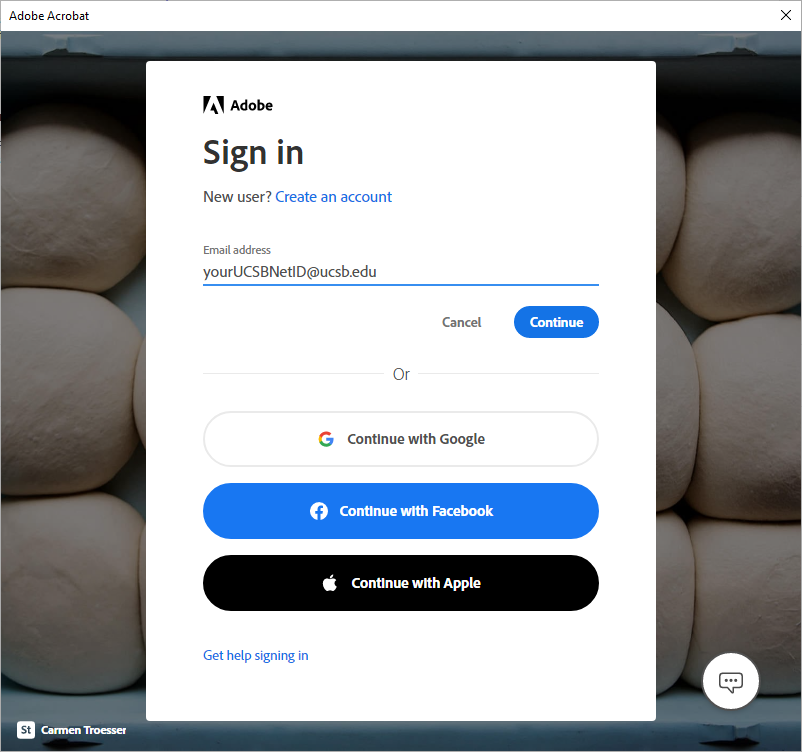
Next enter you UCSBNetID credentials on our SSO page.
Once signed in, you’ll have the full Adobe Acrobat capabilities.
Install without “Get started” email
Reminder, this guide is only intended for departments supported by HASC. For any other departments, please reach out to your local IT support group
Visit https://acrobat.adobe.com/us/en/.
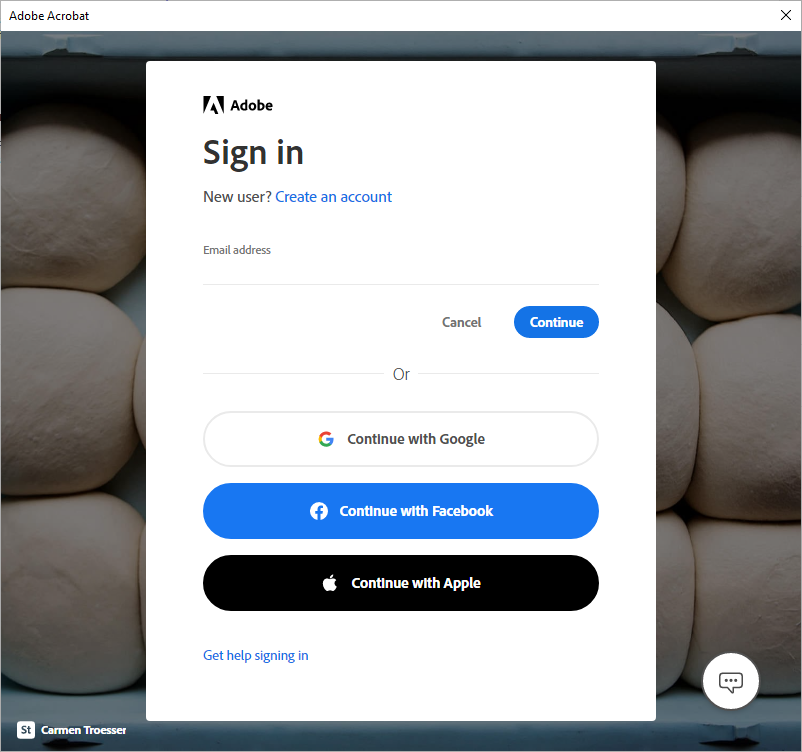
Click on Sign in.
Click on Continue with Google and sign in using yourUCSBNetID@ucsb.edu and your UCSBNetID password.
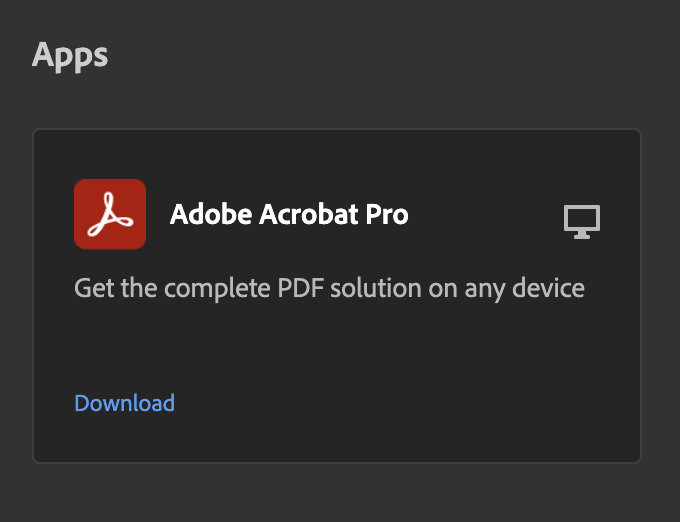
In the top menu bar, click on All Tools

Click on Download under Adobe Acrobat Pro